
Posted by Wes Wood on 17th Oct 2018
HOW TO - Thread locking armatures
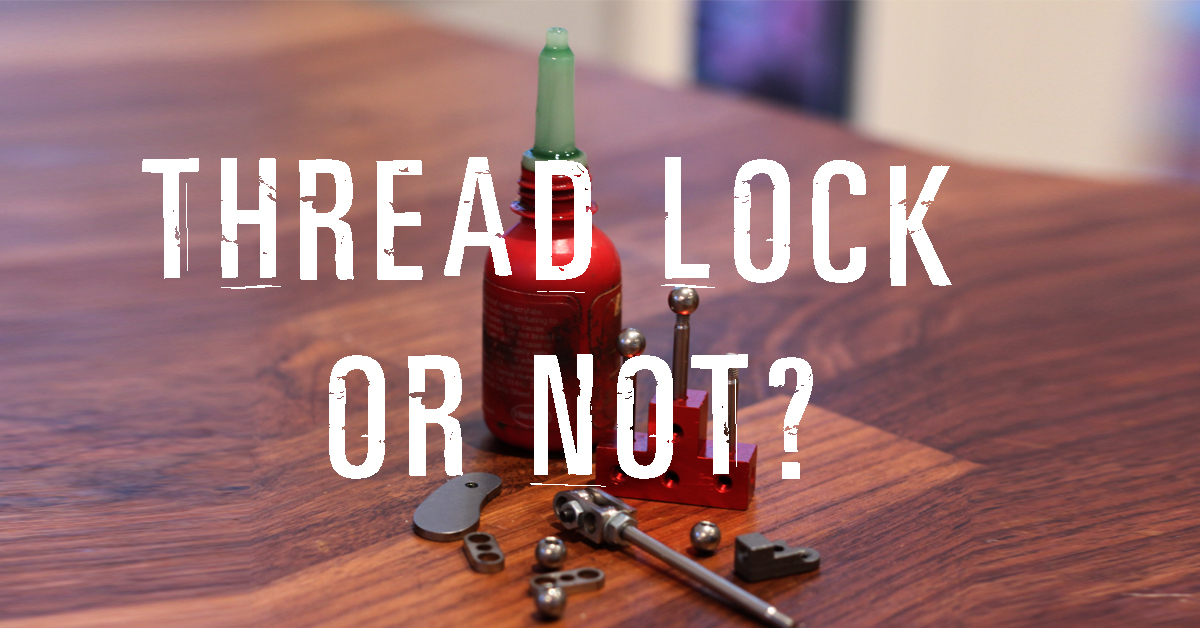
Thread lock - science and practice for successful polymerization.
Ok - did I make that title sound science enough? I mean really? I tried to because this blog is about the science of thread lock and once you get to grips with that you’ll be making permanent (semi-permanent) armatures until your heart is content.
So let's start with the boring bit - the science: Thread lock is a thixotropic liquid which will flow well but also resist shock and vibration. Its methacrylate formula - which means that it’s base substance is an acid - which is really important to us as armature makers. Threadlocking relies on an electrochemical process to polymerize the liquid. Do you follow?
Let me explain - the methacrylate formula (acid) reacts when it touches the metal parts in an electrochemical process. This causes the liquid to change into a resin (through polymerization) and bond the metal parts together.
If you are still reading then thank you for baring with me! In layman's terms - the liquid reacts when in contact with the metal to form a glue thus sticking the parts together.
There are various rules we must follow to make the most of the thread locking strength. We worked with Henkle (the manufacturers of Loctite) to identify that thread lock 2700 was the best formula to use in our case: It’s a super strong, permanent solution that penetrates metal well.
- CLEAN - not your hands but your parts. As a rule, we (Animation Toolkit) supply all of our parts and kits with a light film of grease. This protects parts from any potential corrosion while in storage and transit to you. Remove this film by submerging your parts in acetone/alcohol based substance and wash rinse thoroughly with a brush. The thread lock is a type of acid and it needs to touch metal for this process to work. I can’t stress how important this stage is. We need to remove any barrier between the metal part and the thread lock liquid for the electrochemical (there’s that big word again) process to happen across as much of the thread as possible. Any grease residue will prevent the acid from touching the metal and the electrochemical process from starting.
- Liberal - in your thoughts and use of thread lock - make sure that the thread on both parts (male and female) are completely covered in solution. Work the thread into and out of the parts - making sure that the threads on both sides are completely covered.
- A nip and snug - once you have screwed both parts together, snug them tightly with your fingers and wipe away any access solution. Following that, nip both parts together with a pair of pliers, Allen key or small wrench (avoid clamping threads with the pliers). This little nip (tightening) of the parts will compress the solution within the threads and cause the electrochemical process to work more effectively in a concentrated space.
- Bake - armatures not bread. Once you have nipped all of the parts up, set them on a radiator or other warm place to cure. A radiator/warm environment with cause the electrochemical process to intensify which in turn polymerizes the solution into a resin. Leave the parts to cure for at least 12 hours before assembly.
At the top, I mention this is a permanent (semi-permanent) process. When the parts have cured they are permanently fixed together. Manual disassembly is impossible (with tools or otherwise). That being said, it is possible to disassemble, however; heat parts gently with a small blow torch (even a lighter will do it) past 240 degrees. This will break the resin bond between the threads and disassembly may be achieved. This is good to know if you make a mistake or if your budget is tight and you need to recycle an old armature. Once the resin bond has been broken though heat you may still need to use tools to split the parts. Also, there can be considerable clean up of threads, a wire brush would be handy and of course a proper clean up in acetone ahead of re-fixing.
Boom! That's it - follow these simple rules and you will thread lock parts successfully in your armatures. I hope this information is useful, as always drop us a line on social and tag us in your projects, we’d love to see what you are creating. Until next time,
That’s all folks,
Wes